Project Idea
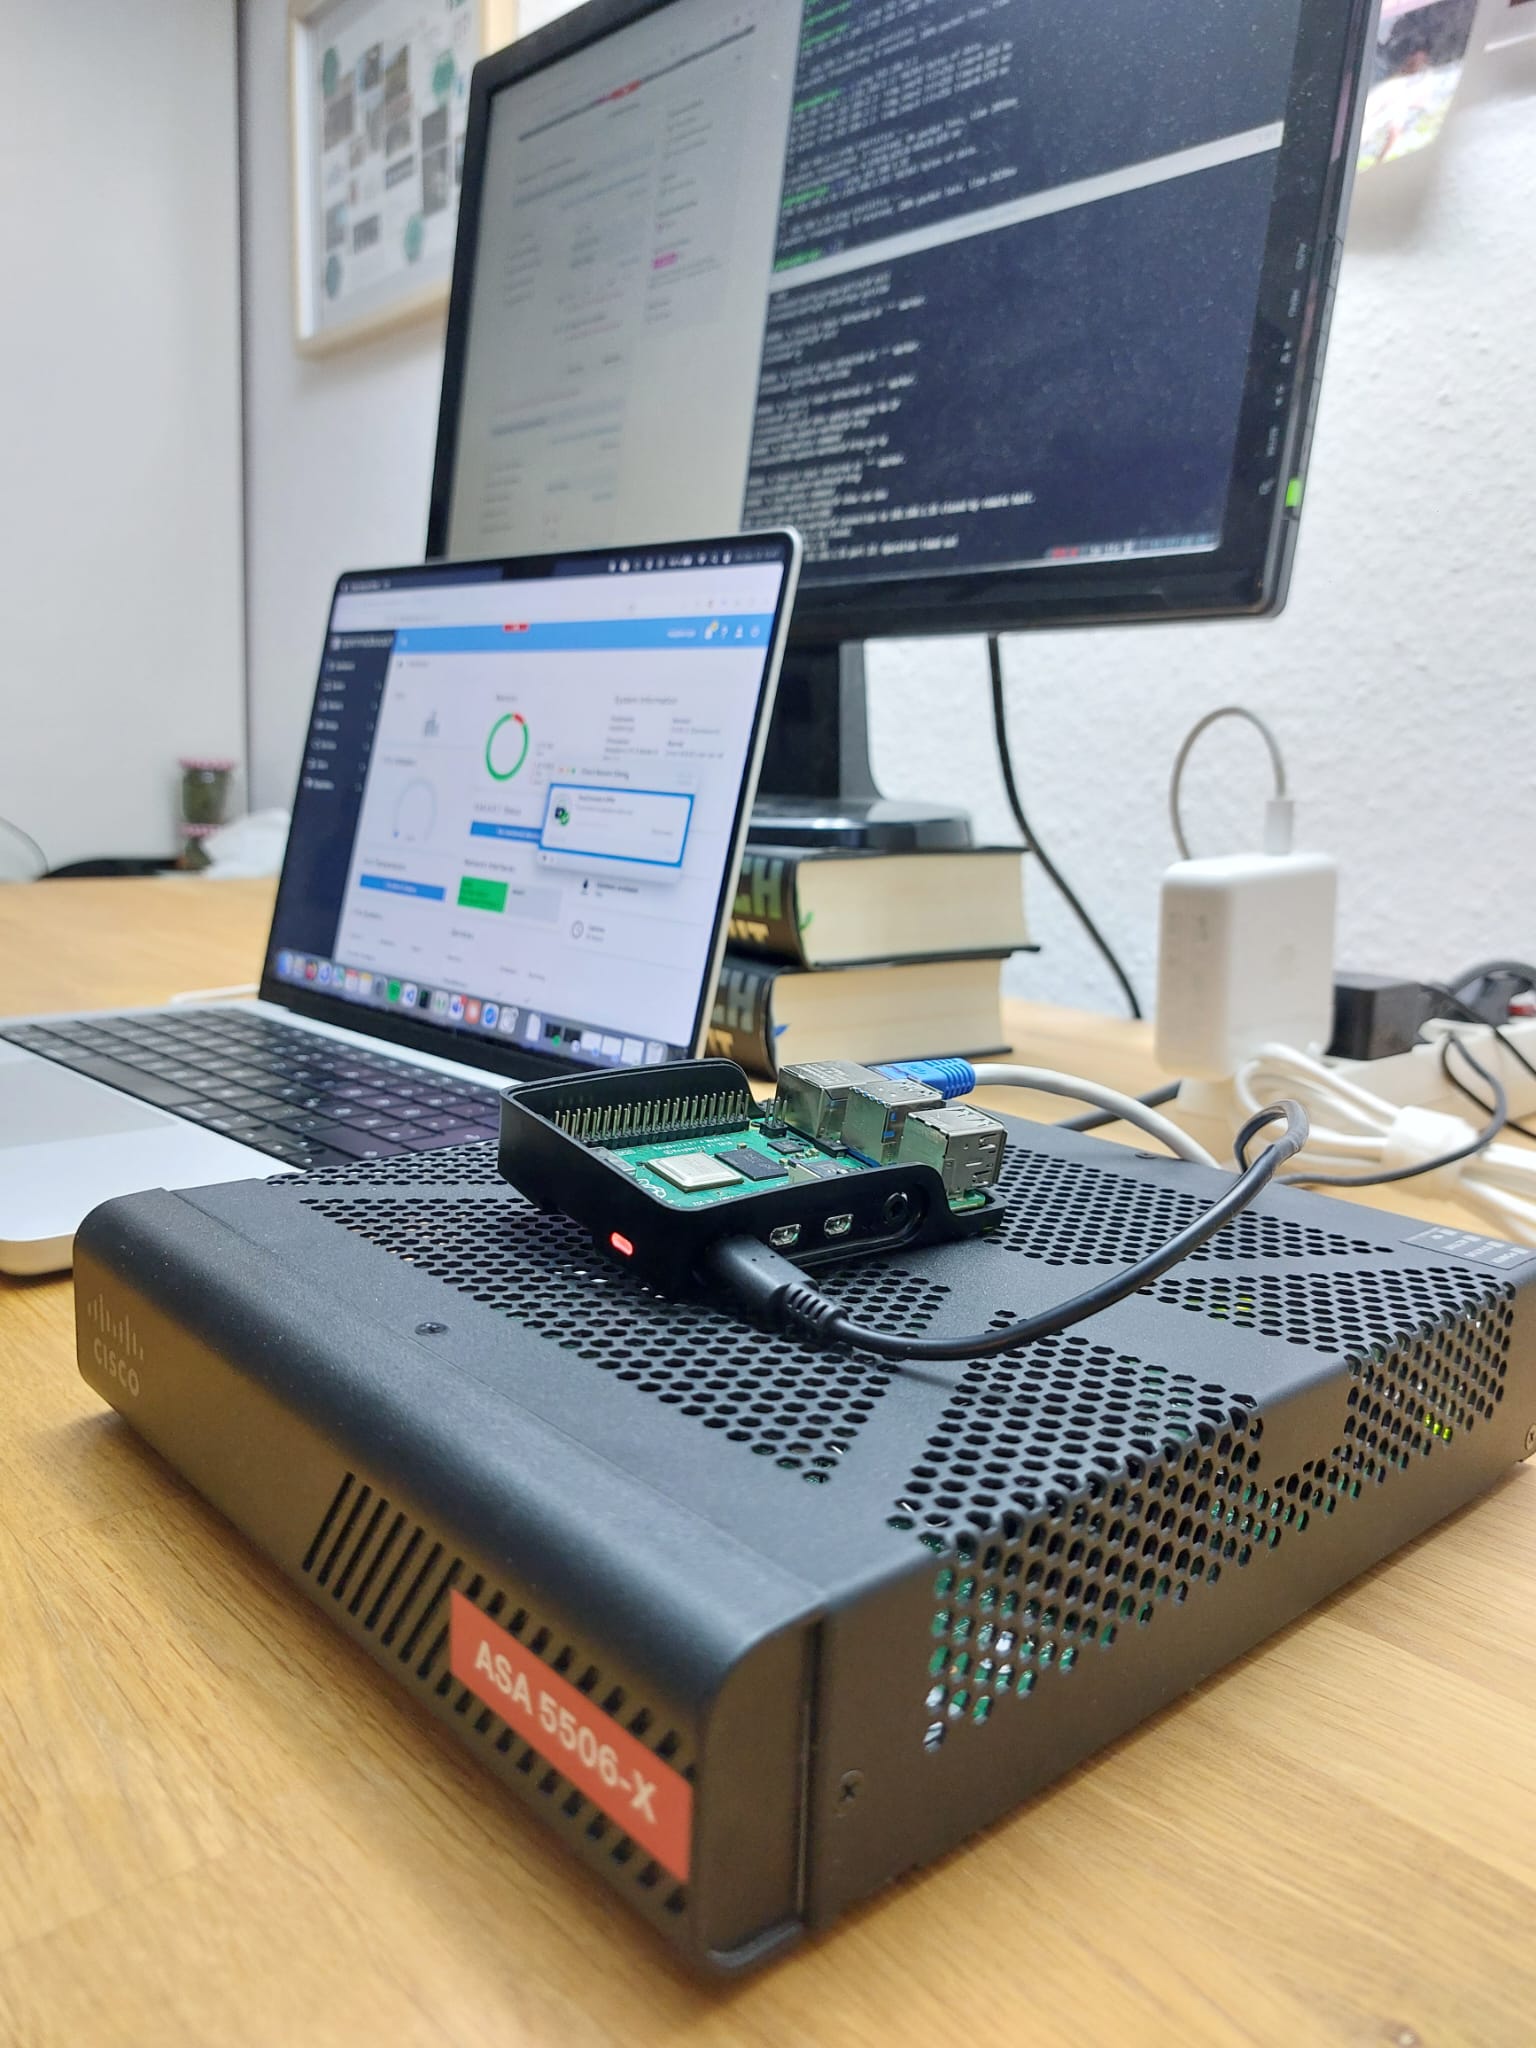
I got an old-ish Cisco ASA 5506-X firewall from a friend lately. After I have been marvelling at it on my desk for a couple of weeks I finally decided to do some real project with it. I thought about the following setup: What if I use my already existing Raspberry Pi and connect it via ethernet to the Cisco ASA? And what if I connect the ASA to my router at home and try to make the Pi accessible from outside, hidden behind the firewall. This is how the idea was born to use the Pi as a media server and securing it with a VPN on the firewall, so it can be accessed from the public internet, but only by clients who are legitimate VPN users.
Project Overview
 The graphic shows that the firewall is connected via ethernet to the router. This is being done on the interface GigabitEthernet1/1. The Raspberry Pi connects to the firewall on the interface GigabitEthernet1/2.
There are a couple of preparations necessary to control both ASA and Pi:
- The ASA needs to be excluded from the router's DHCP and get assigned a static IP address in the same subnet as the router. This can be done in the router's menu and I chose to use 192.168.1.55. (The ranges of static IP addresses in my home network were (192.168.1.100-192.168.1.199).)
- To connect to the ASA the first time an out-of-band connection needs to be established using the serial console output of the router and an USB-C adapter for my laptop. The device can be found with
ls /dev/*usb*. Connecting to it is possible for example withscreen /dev/tty.usbserial-210 9600. This serial connection is at 9600 baud, so expect some lags and slower multi-line prints. - The Pi needs to be configured as a media server, I am using OpenMediaVault in this project. It also has to be assigned to a static IP address which will be done in the following sections.
Initialization of the ASA
To have a clean installation, it makes sense to reset the ASA. This is also helpful in case you forgot the password for the user. Interrupting the normal boot process can be done by hitting ESC during booting and then typing confreg 0x41. This allows for a reset. After the reset you can set a new password with enable password and then reset the config-register to 0x1 for normal mode.
A couple of useful ASA commands here:
- en(able): like sudo, gives you privileged rights
- conf(igure) t(erminal): lets you change settings
- show disk0: : like ls, lists the content of files on the disk0
- show interface ip brief: displays settings of the interfaces and their state
- show route: shows the routing paths of the connected devices or VLANs
The basic configuration of the ASA needs to define an interface as outside and connect it to the router and define another one as inside, assign a different subnet to it and connect it to the Pi. By typing interface g1/1 you can change the settings. Change the settings this way:
1. Basic Interface and NAT Setup
interface GigabitEthernet1/1
 nameif outside
 security-level 0
 ip address 192.168.1.55 255.255.255.0
By default, traffic is allowed to flow from a higher security level to a lower security level. Since the outside interface is usually untrusted, it gets assigned the security level 0 and thereby only traffic permitted with an access list is allowed to reach the other interfaces.
interface GigabitEthernet1/2
 nameif inside
 security-level 100
 ip address 192.168.2.1 255.255.255.0
The second interface is our inside interface. It is considered trusted and has the highest security level of 100. The interface itself can be reached on the IP address we assign to it: 192.168.2.1. The Pi needs to get assigned a static IP address that is in the range of the subnet of interface g1/2: so 192.168.2.x.
Initialization of the Pi
Before connecting the Pi to the ASA, we need to connect it to the router directly to configure it. This could either be done with keyboard and monitor or headless by SSHing onto it. Turning the Pi into a home media server makes it necessary to install some software on it. OpenMediaVault is a good choice and can be installed by a single command: wget -O - https://github.com/OpenMediaVault-Plugin-Developers/installScript/raw/master/install | sudo bash.
This will take a couple of minutes to run and finish. You will likely get disconnected during the process and the Pi reboots. Verify that you can establish a connection to the Pi while it is still connected to the router directly and then change its IP address. The way it worked for me specifically for OMV was by modifying the file /etc/netplan/20-openmediavault-end0.yaml. end0 is the ethernet interface.
network:
  ethernets:
    end0:
      match:
        macaddress: dc:a6:32:d4:28:de
      addresses:
      - 192.168.2.99/24
      routes:
      - to: 0.0.0.0/0
        via: 192.168.2.1
      accept-ra: true
      dhcp4: no
      dhcp6: yes
      dhcp6-overrides:
        use-dns: false
        use-domains: true
      nameservers:
        addresses:
        - 8.8.8.8
        - 8.8.4.4
You want to set a specific address (here 192.168.2.99) that routes to the g1/2 interface (here 192.168.2.1) and say no to DHCP4. Change the settings and reboot the Pi. You'll likely need a keyboard and a monitor connected to the Pi from now on for doing some connectivity tests.
Networking and Security Settings on the ASA
Before we go into specific settings for this setup, there are some general settings that can be used as best practices for most use-cases of an ASA:
service-policy global_policy global
policy-map global_policy
class inspection_default
inspect dns preset_dns_map
inspect ftp
inspect h323 h225
inspect h323 ras
inspect rsh
inspect rtsp
inspect esmtp
inspect sqlnet
inspect skinny
inspect sunrpc
inspect xdmcp
inspect netbios
inspect tftp
inspect ip-options
inspect icmp
inspect snmp
class class-default
set connection decrement-ttl
class-map inspection_default
match default-inspection-traffic
You would want to just copy and paste them while being in the conf t menu.
2. Object Definitions
object network PI-SSH
 host 192.168.2.99
object service SSH
 service tcp destination eq ssh
You want to create reusable variables for objects for simple configurations. We can use PI-SSHand SSH in other places and would only have to change their value in one place.
3. Access Lists
access-list OUTSIDE_IN extended permit tcp host 192.168.1.100 host 192.168.2.99 eq ssh
access-list SPLIT_ACL standard permit 192.168.2.0 255.255.255.0
The access list OUTSIDE_IN defines which traffic is allowed from the outside interface g1/1. In this case, only SSH connections from a single client (192.168.1.100 - my laptop) to the Pi are permitted. It's important to maintain restrictive access controls here for security.
The SPLIT_ACL access list tells the VPN clients that only traffic destined for 192.168.2.0 goes through the VPN. The rest of the traffic goes through the client's local internet connection.
4. Apply Access Groups
access-group OUTSIDE_IN in interface outside
access-group INSIDE_IN in interface inside
The access groups activate the access lists on specific interfaces. OUTSIDE_IN is activated on the outside interface g1/1. The other access-group INSIDE_IN is not necessary if you trust internal devices and traffic. However, it is a good best practice to leave it activated.
5. Routing
route outside 0.0.0.0 0.0.0.0 192.168.1.1 1This is our default route or default gateway. All traffic that doesn't have a specific route should be send to 192.168.1.1 - the router. This is essential for internet connectivity.
6. VPN Configuration
ip local pool VPNPOOL 192.168.4.10-192.168.4.20 mask 255.255.255.0
group-policy VPN_GROUP internal
group-policy VPN_GROUP attributes
 vpn-tunnel-protocol ikev2 ssl-client
 split-tunnel-network-list value SPLIT_ACL
 address-pools value VPNPOOL
Here a pool of eleven local IP addresses in the range of 192.168.4.10-192.168.4.20 are created and can be assigned to VPN clients. The group is using IKEv2 and SSL for the VPN connections. It also uses the formerly defined SPLIT_ACL group and assigns the addresses of VPNPOOL to the group VPN_GROUP.
You could check the active VPN sessions and their assigned IP addresses by running show vpn-sessiondb anyconnect or show ip local pool VPNPOOL.
7. User Authentication
username paul password <your-password>
username paul attributes
 vpn-group-policy VPN_GROUP
Here a user account with the username paul and a corresponding password is created and assigned to VPN_GROUP. You'll need this user and password later on in your Cisco Secure Client in order to connect to the VPN.
8. SSL Settings
ssl trust-point mytrustpoint outsideThis specifies which SSL certificates are being used for VPN connections. Obviously, you need to create a SSL certificate before. This can be done with the following commands:
crypto key generate rsa modulus 2048 label mykey
crypto ca trustpoint mytrustpoint
 enrollment self
 subject-name CN=your-asa-public-ip
 keypair mykey
 crl configure
crypto ca enroll mytrustpoint noconfirm
Be aware, that you'll receive warnings by the Cisco Secure Client since it doesn't officially reconnect the certificate you just provided. You would have to obtain a certificate from a trusted Certificate Authority like Let's Encrypt and generate a Certificate Signing Request.
9. Basic Inspection Policy
policy-map global_policy
 class inspection_default
  inspect ftp
  inspect icmp
service-policy global_policy global
Those inspection policies are necessary to inspect FTP (file transfer) and ICMP (ping) traffic - this is often necessary for debugging purposes along the way.
DDNS
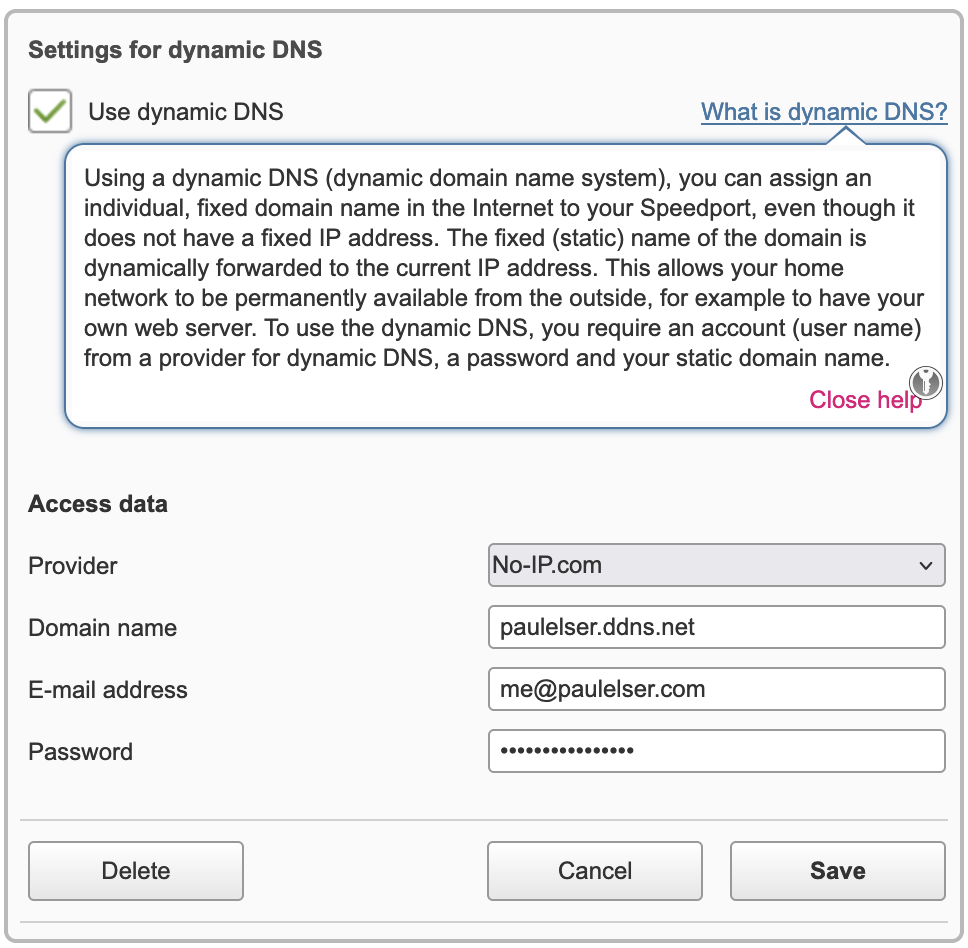
Now the whole point of the project is to be able to access the Pi from outside my home network. Imagine you are travelling abroad and want to see the pictures and videos that might be saved on your NAS at home. But how do I reach my home router from abroad the world? The answer is DDNS or Dynamic DNS. You have to use a service like No-IP.com that uses a static IP address and dynamically forwards to the changing public IP address of your router. Of course you need to create an account with the service provider and you are not free in selecting a domain name if you are not on a paid plan.

How to Get Files to the ASA?
To either flash new firmware or to enable Cisco Secure Client, you need to transfer a corresponding file onto the ASA. There is a handy way to do this: run python3 -m http.server 8000 in the same directory of the file you want to transfer. Now given the fact that both host and ASA are connected to the same router, find out your host's IP address, connect to your ASA terminal and there run copy http://<host_ip_address>:8000/<file_name> disk0:
With show disk0: you can check whether the file has really been transferred.
Inspecting Traffic
Another handy command to inspect traffic is running capture cap interface INSIDE trace on the ASA. Then run for example ping or curl on any device of the INSIDE interface and again run show capture cap trace on the ASA. This will give you a debug output for traffic to and from the ASA.
Thanks a lot for reading! 📖
